In this tutorial, you will find a handy guide on how to set up a cPanel Email account in the Windows 10 default mail application.
Throughout the guide, we will reference a test email account: [email protected].
PLEASE NOTE: Before proceeding, make sure you have a mailbox created in your cPanel.
1. Click on the Windows Start menu and choose the Mail app on the Start Screen:
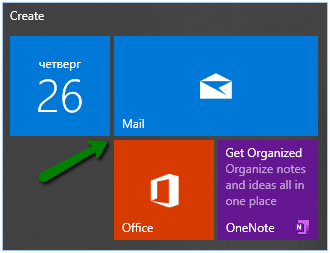
PLEASE NOTE: The Start Screen may look different on your side and Mail app might be missing. Therefore, feel free to use Search charm to find the app. Some tips on how to use it in Windows 10 can be found here.
If this is the first time you've opened the Windows Mail app, you’ll see a Welcome page.
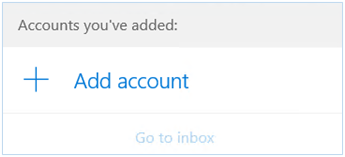
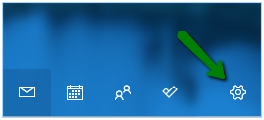
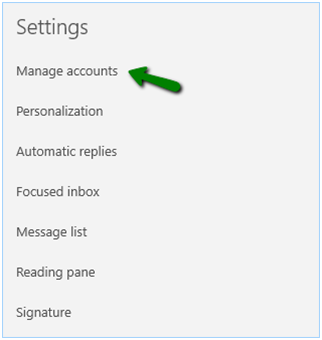
NOTE: On a phone or tablet, tap the three dots at the bottom of the page to access Settings.
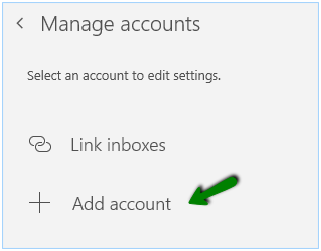
After you’ve done this, select Add account:
Email address: your full email address
Username: your full email address
Password: your password for this email account
Account name: the name that you'll see in the left navigation pane of Mail for Windows 10, as well as in the Manage Accounts navigation pane (you can choose any name you want).
Send your messages using this name: the name you want your recipients to see when they receive your message (this name will be displayed in the From field of sent emails)
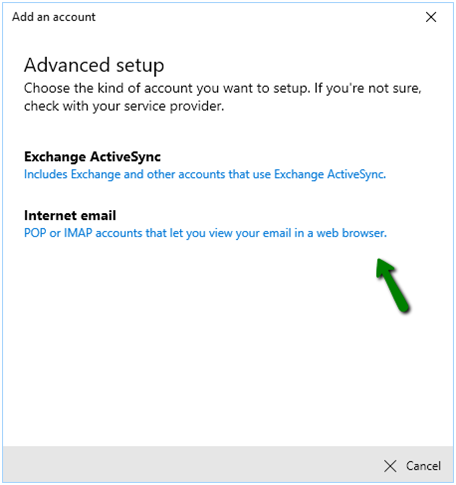
Incoming (IMAP) email server: the server your account is hosted on
Account type: IMAP4 or POP3
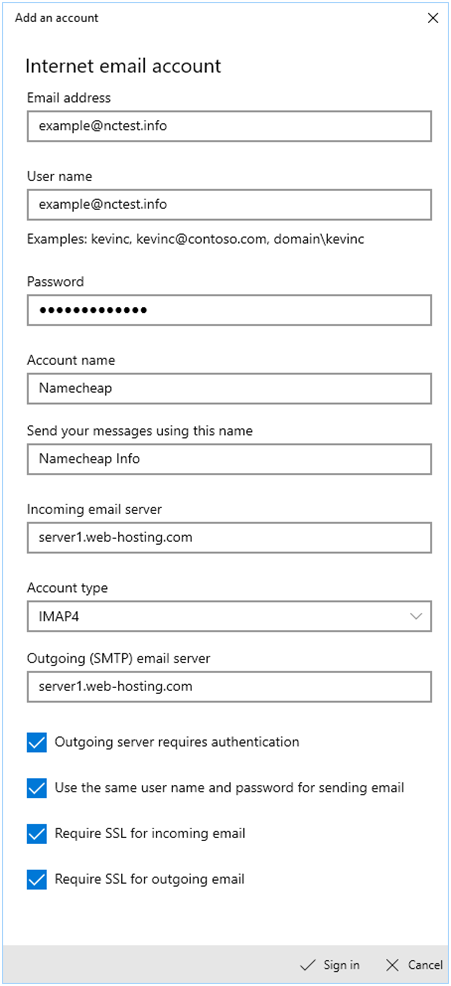
- Outgoing server requires authentication
- Use the same username and password for sending email
- Require SSL for incoming email
- Require SSL for outgoing email