This tutorial will help you to add a new or re-configure the existing cPanel email account in Microsoft Outlook 2019.
NOTE: In this article, we use [email protected] address as an example.
Follow these steps in order to add a new email account:
1. Open Microsoft Outlook 2019 on your device.
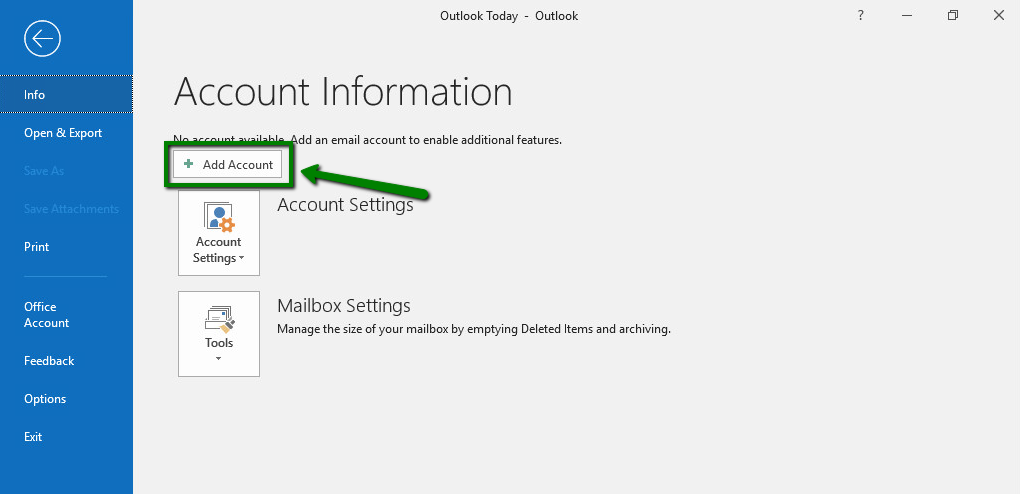
2. If you don't have any mailboxes added yet, you will see the Account Information page. Click the +Add Account button there.

3. Type in your full email address that was created in your cPanel >> Email Accounts menu and click Connect.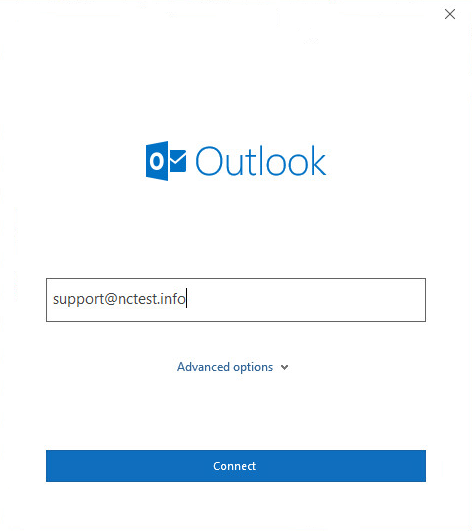
Disregard any warnings that may appear, and proceed to the next step.
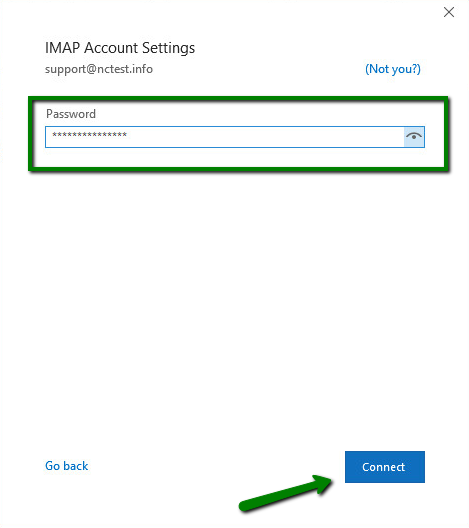
4. Type in the password you are using for this email address and click Connect:
5. Select the Change account settings option and click Next. On the next page, select the POP or IMAP option and then click Next.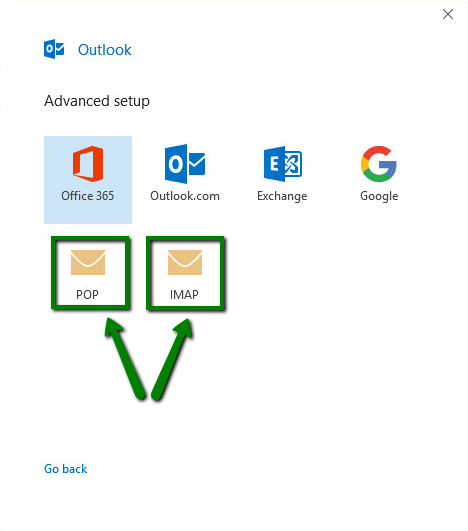
POP3 stands for Post Office Protocol, and was designed as a simple way to access a remote email server. POP works by downloading your emails from your provider's mail server and then marking them for deletion there. This means you can only ever read those email messages in that email client, on that computer. You will not be able to access any previously downloaded emails from any other device, or with any other email client, or through webmail.
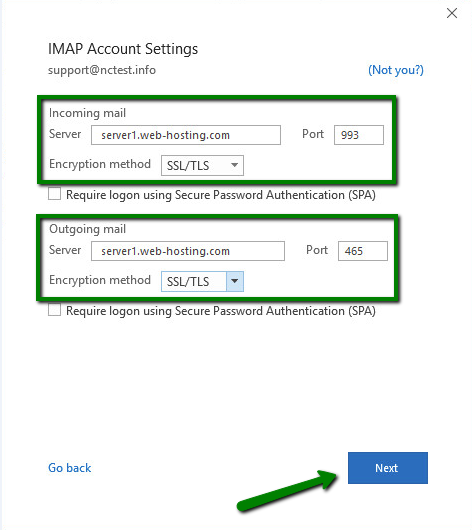
- Incoming mail server: server your account is hosted on (server1.web-hosting.com is used as an example, replace it with your actual server)
- Incoming mail port: 993 (or 143 with STARTTLS)
- Encryption method: SSL/TLS (or STARTTLS if 143 port is used)
- Require logon using Secure Password Authentication (SPA): should be unchecked
- Outgoing mail server: server your account is hosted on (the same as the incoming mail server)
- Outgoing mail port: 465 (or 587 with STARTTLS)
- Encryption method: SSL/TLS (or STARTTLS if 587 port is used)
- Require logon using Secure Password Authentication (SPA): should be unchecked
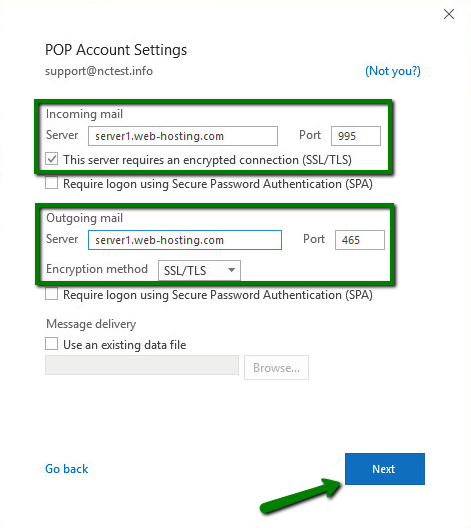
7. If you choose POP account setup, enter the following mailbox and server details:
- Incoming mail server: server your account is hosted on (server1.web-hosting.com is used as an example, replace it with your actual server)
- Incoming mail port: 995
- This server requires an encrypted connection(SSL/TLS): should be checked
- Require logon using Secure Password Authentication (SPA): should be unchecked
- Outgoing mail server: server your account is hosted on (the same as the incoming mail server)
- Outgoing mail port: 465 (or 587 with STARTTLS)
- Encryption method: SSL/TLS (or STARTTLS if 587 port is used)
- Require logon using Secure Password Authentication (SPA): should be unchecked
8. Once all details are filled, click Next.
9. After that, type in your password for this email address and click Connect:
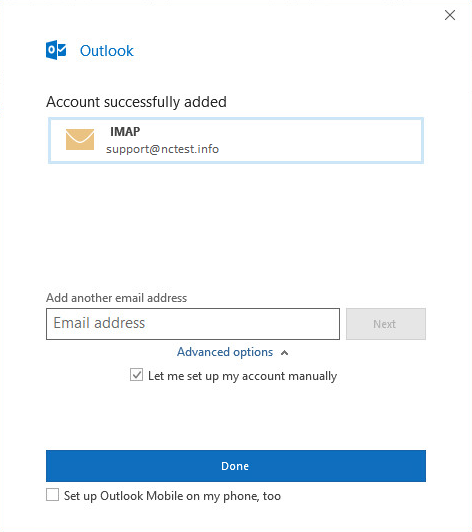
Click Done to complete the setup.
In order to check or update the configuration of the existing email account, follow these steps:
1. Open Microsoft Outlook 2019 on your device.
2. Go to the File tab >> Info >> Account Information<span style="color: #6d6e70; font-family: 'Museo Sans', Arial, Helvetica, sans-serif; font-size: 16px; font-style: normal; font-variant-ligatures: normal; font-variant-caps: normal; font-weight: 400; letter-spacing: normal; orphans: 2; text-align: start; text-indent: 0px; text-transform: none; white-space: normal; wi
